Presets

Presets is a great way to save and quickly restore all or some of the settings of individual products. The Presets section consists of two folders:
My Presets
Creator's Presets

Apply Current

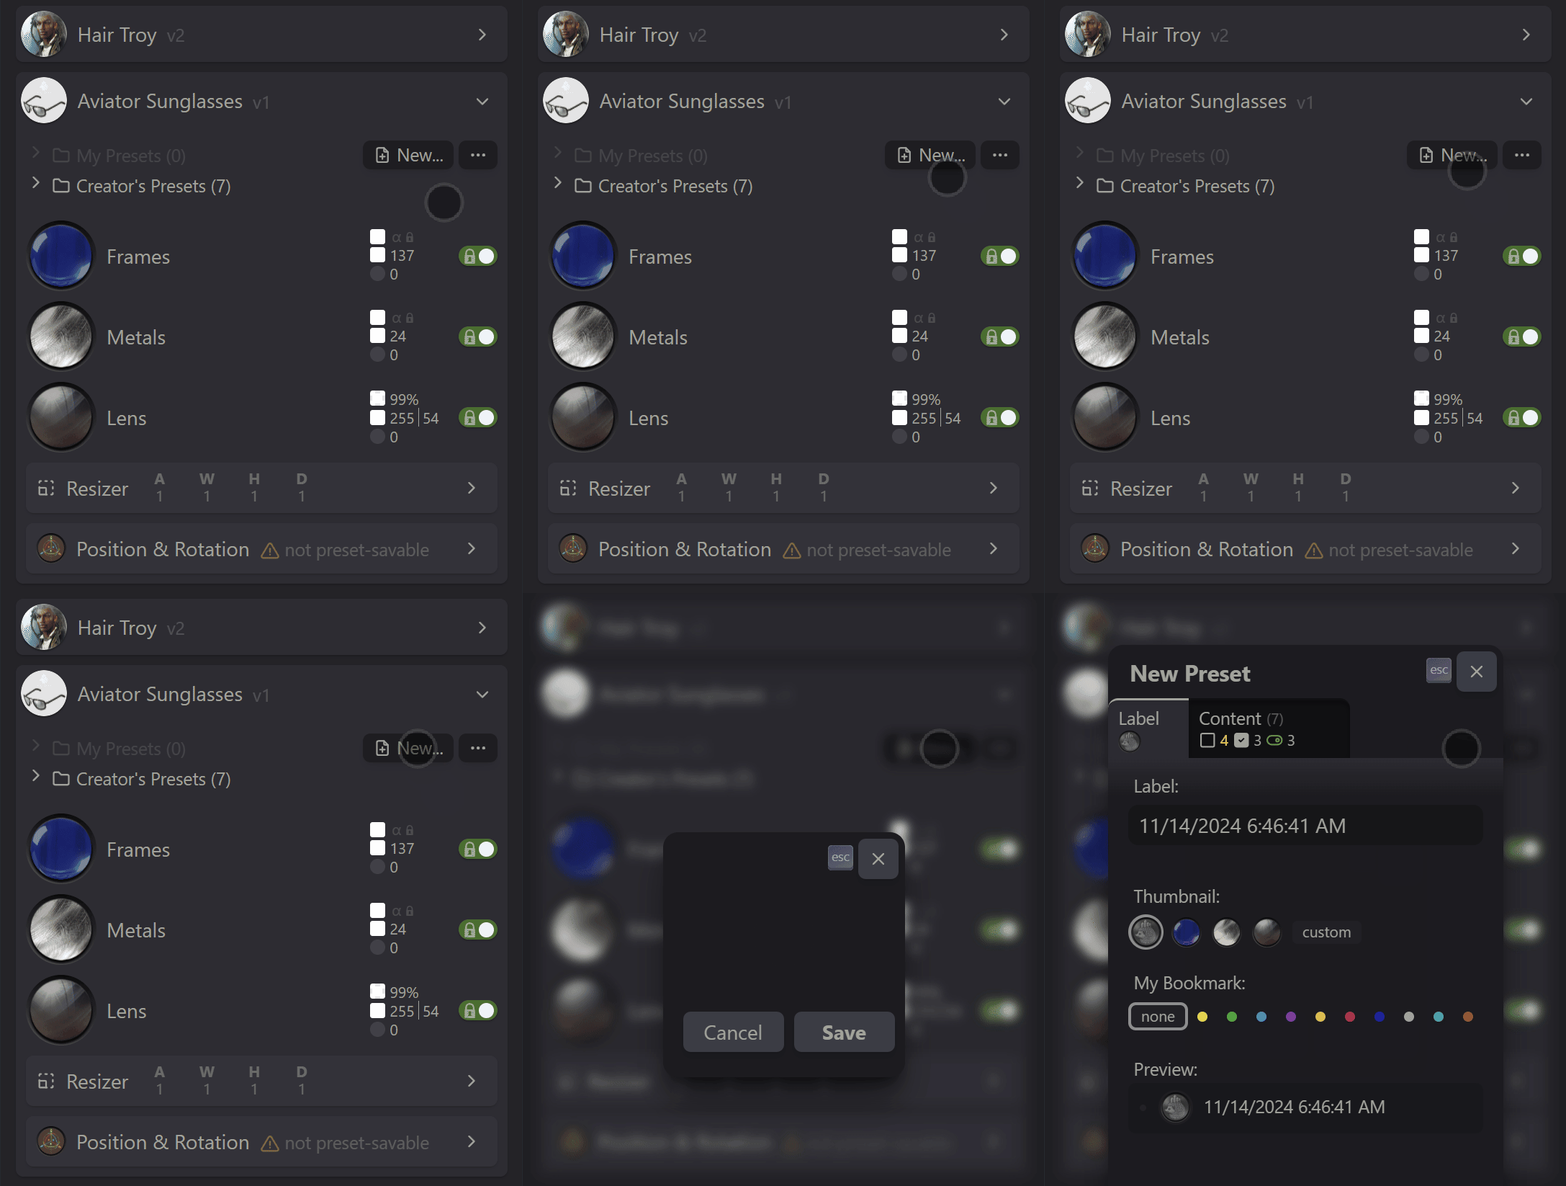
Apply Current action sends all the settings that are seen in the swooplet interface to an item in the virtual world.

You can access it through the menu to the right of the 'My Presets' folder.
Why it may be needed
Why not run this automatically?

Applying Presets

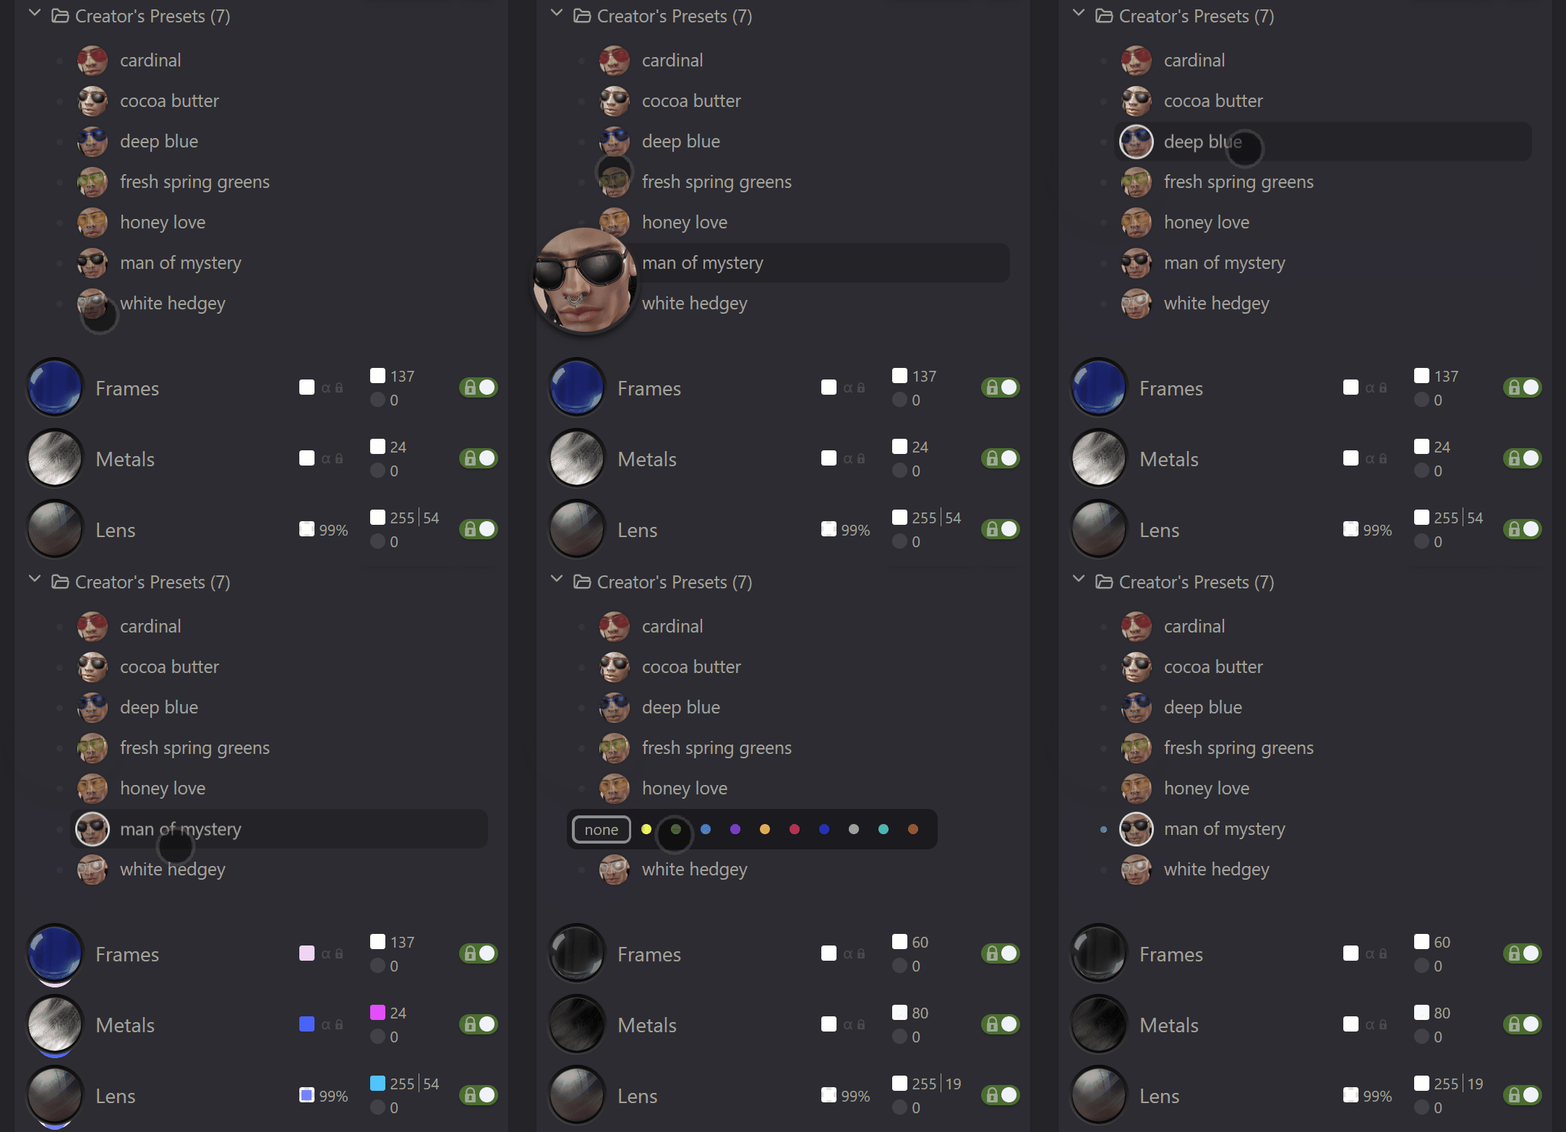
  • Click the preset's title to immediately apply it.
  • Hover over the thumbnail (or touch on mobile devices) to enlarge it.
  • Click the dot to the left of a thumbnail to assign a personal bookmark.

Creating Presets

  • Click New... to open the presets dialog.
  • Notice the Label tab.
    • Here, you can specify a short label for your preset.
      Presets are sorted alphabetically in the list of presets.
    • Select a thumbnail, or use a custom UUID to provide your own.
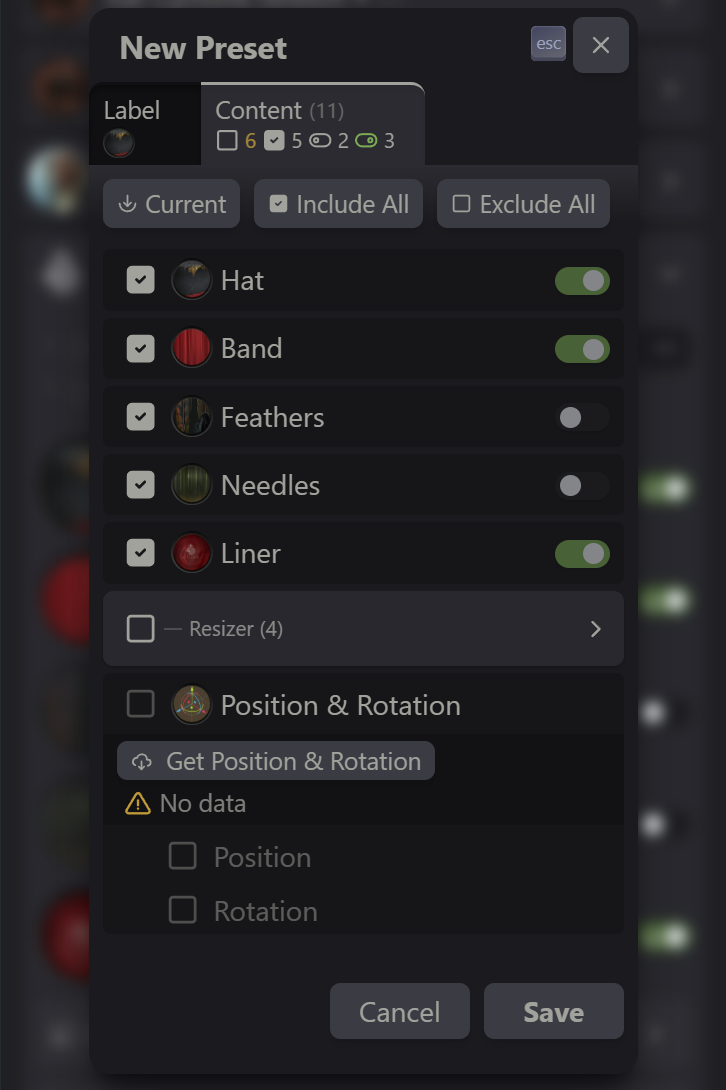
  • Check the Content tab.
  • If you see a glowing yellow number in the tab title, it indicates that some content is not automatically included.
    • By default, only the texture selections are included in the Content tab.
    • To add other settings like Resizer, Position & Rotation, etc., check the boxes on the left.
      • Position & Rotation requires special attention. Click Get Position & Rotation to fetch the most up-to-date state from the virtual world.
        • Read the status text. This setting retains the value applied during the most recent preset application, which is reflected in the status text.
Notice the toggles on the right. These indicate the visibility state of the elements. If a toggled-off element is included in the preset, it will be applied as invisible.
  • Click Save to save the preset.

Updating Presets

Click the pencil icon on the far right of the preset name to open the presets dialog for editing.
On mobile devices, first tap the thumbnail to highlight the entire label, which will make the icon visible.
  • Update any fields in the Label tab as needed.
  • In the Contents tab:
    • To update the content:
      • Click the Current button to bring in the current selections from the main interface. This is equivalent to creating a new preset from scratch, except that the checkboxes on the left will remain unchanged.
        Note: A future feature will enable you to request the current state for each line individually.
    • Use the checkboxes on the left to modify which selections are included in the preset.
    • Request a new Position & Rotation if needed.
  • Click Save to save your changes.

Deleting Presets

Click the trash bin icon on the far right of the preset name to open the confirmation dialog for deletion.
On mobile devices, first tap the thumbnail to highlight the entire label, which will make the icon visible.

Divide and Rule

  • You may find it helpful to create presets that can be applied separately:
    • One preset for Position & Rotation only.
    • Another for changing a specific area.
    • Yet another for adjusting the settings of a different area.
  • Use automatic alphabetical sorting of the labels to group them together.